Excellence Throughout
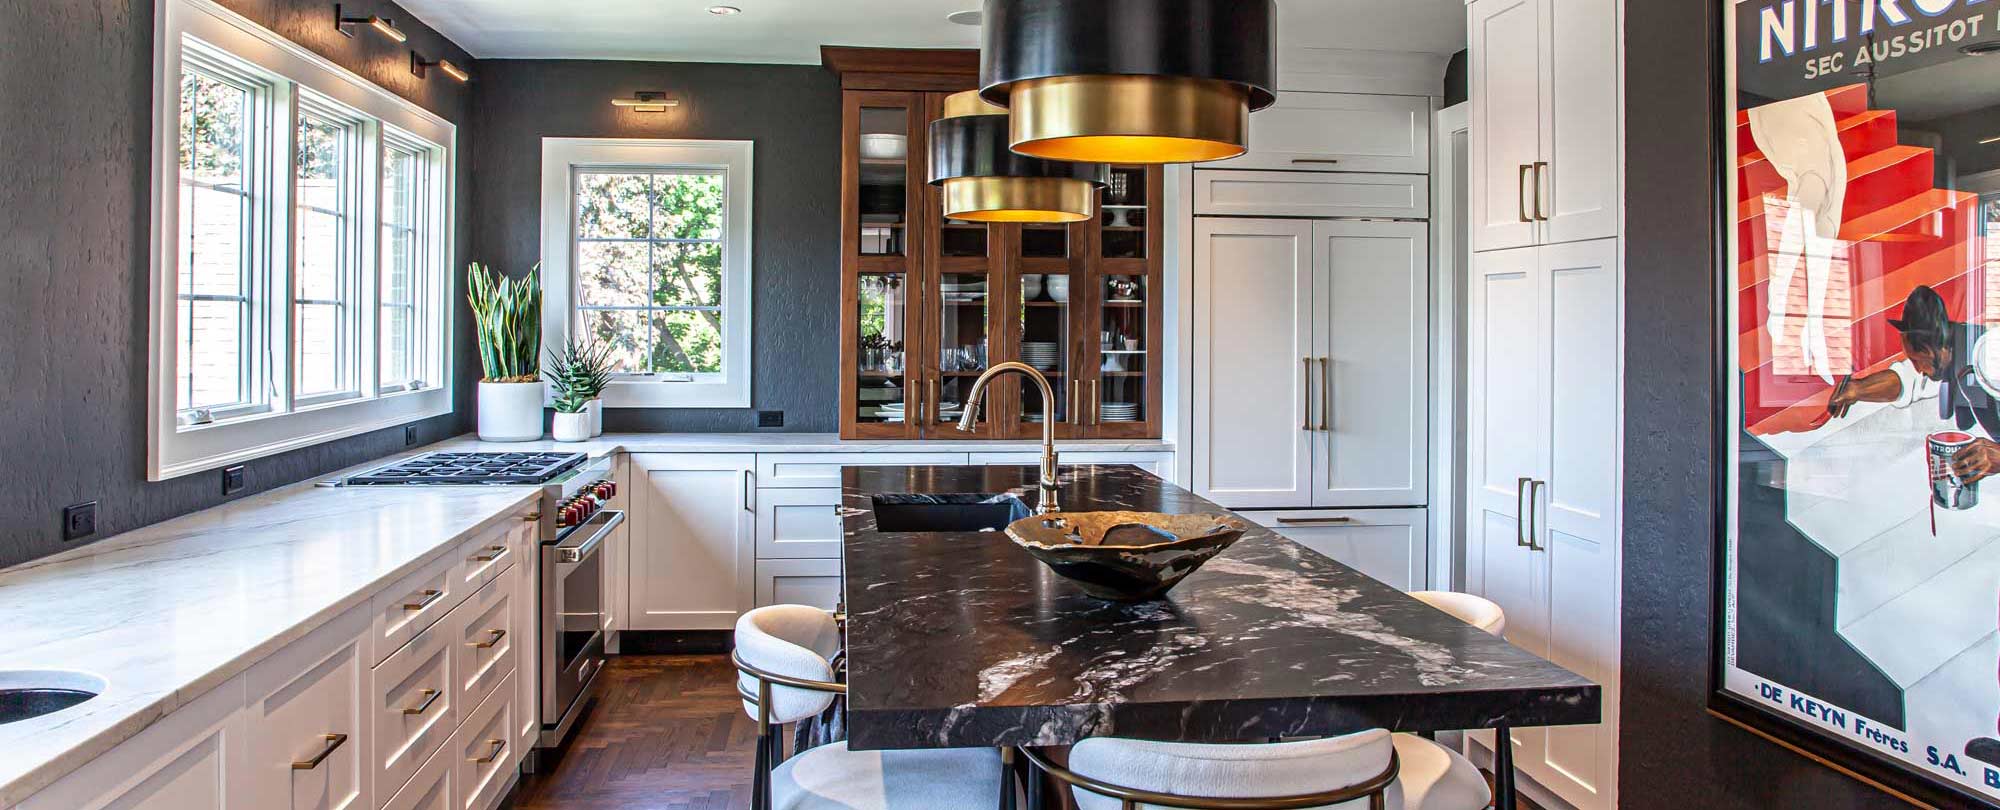
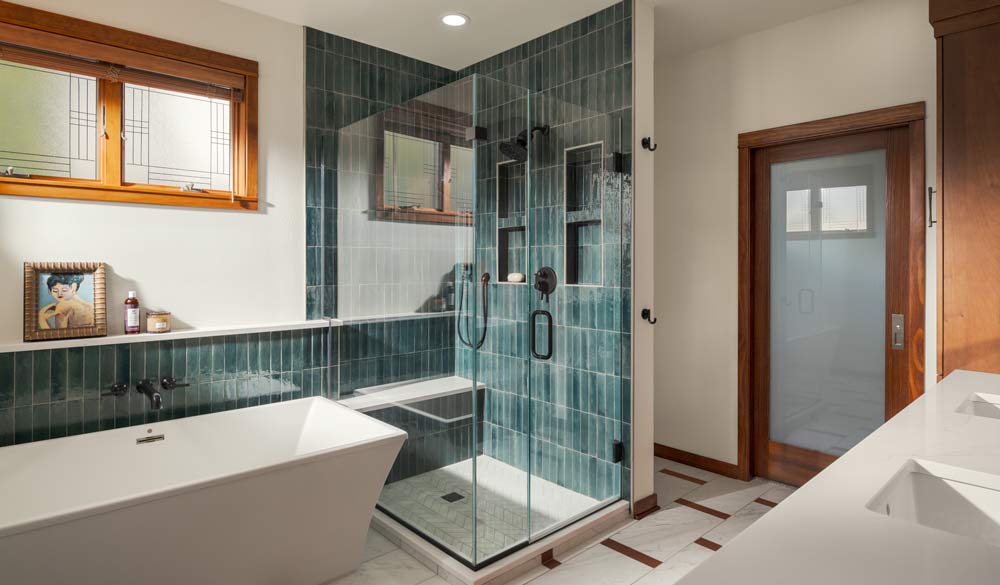
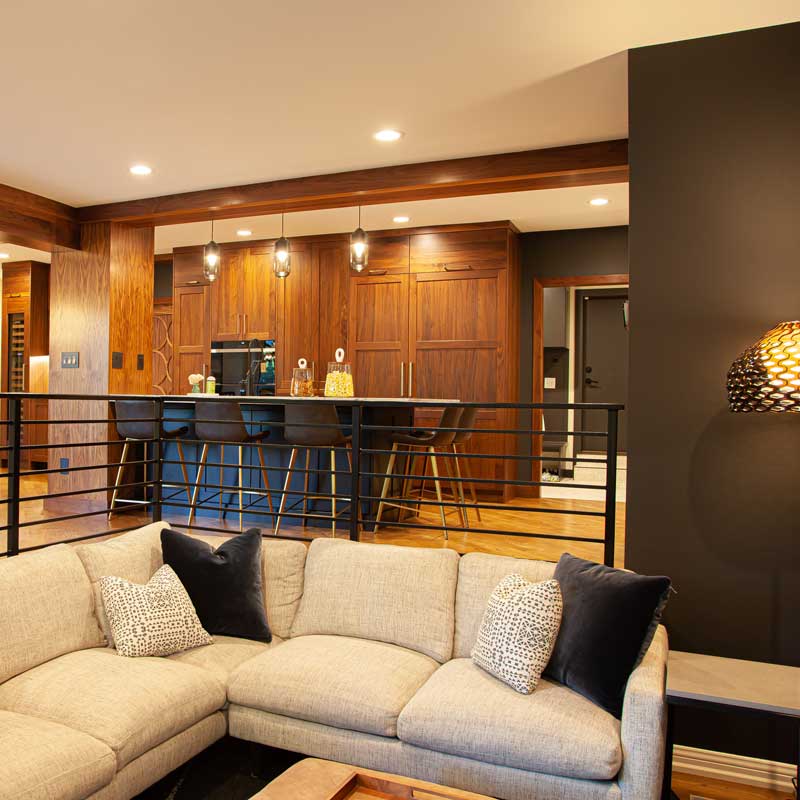
Dream House Dream Kitchens provides high-end kitchen remodeling, bathroom remodeling, and whole house remodeling in Madison, Waukesha, and Milwaukee. We work with top materials and exclusive brands creating spaces to enhance your everyday living.
When you choose Dream House Dream Kitchens, you gain the services of our professional team from start to finish to ensure every detail is exactly as you imagined. We take pride in completing our projects on time.
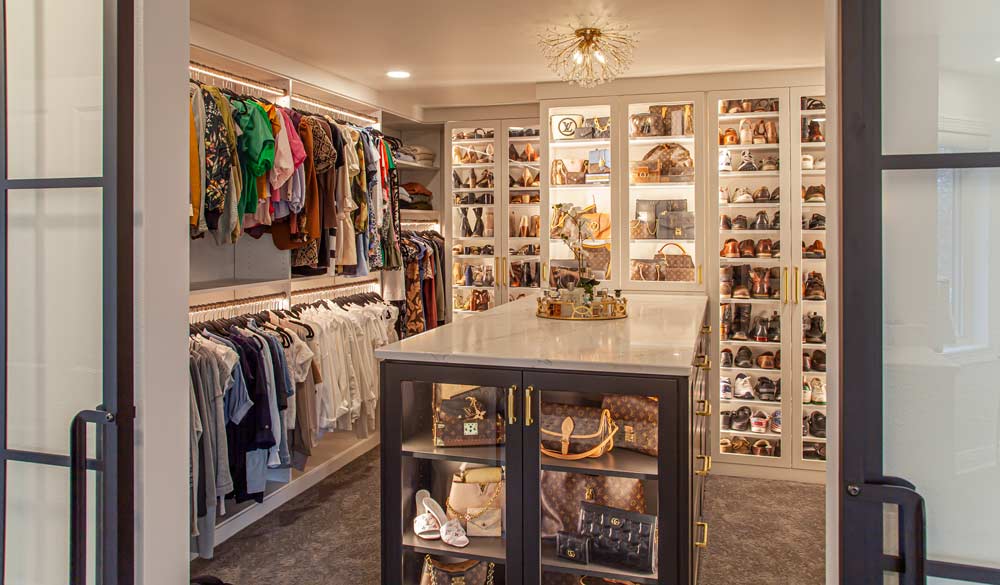
Dream House Dream Kitchens exclusive custom cabinetry combines function and flair. We can work with you from design through installation, or you can order our unrivaled cabinetry for any project, and we’ll deliver it to your contractor. Our Dream Closets division offers expert design and installation of closet, pantry, mudroom, laundry room, and garage storage.
Visit one of our showrooms in Madison, Middleton, or Delafield, or
contact us.